3.11.2014

Homemade Cheesecake Recipe


This yummy and creamy cheesecake recipe has been in my personal cookbook now for many years. 
The original recipe is actually stapled in, written by the wonderful woman who shared it with me some 30 years ago.  Since then, I have only made it a few times, but that was before my kitchen aid mixer. It is so easy to make, I can't believe it has been so long since I last made it.  After revisiting this recipe, It is sure become my "go to" dessert to bring for a special occasion.  The recipe is simple and oh so delish.  I hope you love it and add it to YOUR personal cook book too!  Thanks go to Mrs. B for sharing this one long ago.


 Crust Recipe:
2 Cups Graham Cracker Crumbs
2 Tablespoons Sugar
1/2 cup Melted Butter

Combine ingredients in a large bowl and mix well.  Press into a glass pie plate. (approx. 11 1/2 inch plate) Allow to cool 15 minutes before adding the filling. Hint: you may use a pre made graham cracker shell, but it may be smaller than the recommended size.


 Cheesecake Recipe:

4 Egg whites 
1 Cup Sugar
1 teaspoon Vanilla
3 large packages of Cream Cheese.

Topping:

1 pint Sour Cream
1 teaspoon Vanilla
3 Tablespoons Sugar

Special Topping Suggestions:

Fresh Strawberries or Cherries
Canned Pie filling.

Shown with canned cherry pie topping.

Beat egg whites until stiff.  To the egg whites, add 1 cup of sugar and 1 teaspoon Vanilla. Once combined, add 3 large packages cream cheese and blend until smooth.

Pour the mixture into the crust (recipe and prep instructions above)  and bake 25 minutes at 350*

Remove from the oven and allow to cool.  

Mix 1 pint of sour cream, 1 teaspoon Vanilla and 3 Tablespoons of Sugar.  Spread on top of the cooled Cheesecake.  Return to the oven and Bake for 5 minutes at 475*.  Remove and allow to cool. 

Chill the cheesecake in the refrigerator until ready to serve.  Just before serving, add the topping of your choice to the cake.  I chose Cherries, you may choose just about any topping, homemade or canned.  Blueberries, Strawberries, Peaches, Apples… The possibilities are endless.

Slice and enjoy!

2.18.2014

Creating a Colorful Vintage Bookcase

I adore Vintage books! I tend to collect books in varied colors and contents.
Here, I have grouped blues and greens together in a white corner cupboard for an eclectic way to feature a special collection. I have included cameras and my original and found art work.
Favorite collections: Blue and green books

In the 1940's black lacquer bookcase below, I have grouped books by color.  I have created a chroma of books from left to right, some books with interesting cover colors have been featured, by setting them sideways within the shelves, it adds additional interest.


Colorful books in a bookshelf from the 1940s
Below is the complete bookshelf, with globes collected atop the cabinet and green and orange arrow chairs flanking the sides.  I adore color as you can tell, and in my home… color rules!


What is YOUR bookshelf style?  Share your link below in the comments section.

2.16.2014

Harvey Wallbanger Cake from the Winfield Illinois Community Cook book 1970's


Harvey Wallbanger Cake
1 pkg. orange Supreme cake mix
1 pkg. vanilla "instant" pudding 
4 eggs (room temperature) 1/2 C. Crisco oil
1/4 C vodka
1/4 C. Galliano
3/4 C. orange juice

Mix all ingredients together and beat well (5-6 minutes).  Pour into greased and lightly floured Bundt or tube pan.  Bake at 350 for 45-50 minutes

Glaze
1 C confectioners sugar
2 Tbsp. Galliano
2 Tbsp. vodka
2 Tbsp. orange juice

Mix together and pour over cake.  Use more sugar or less liquid to get the consistency you like.

This is such a delish cake!  If only I could keep the ingredients around long enough!

I have been able to find the Orange Cake mix at Meijer stores in the Chicago land area.

Enjoy!

1.29.2014

The Best Old Fashioned Frosted Sugar Cookie Recipe

This recipe was passed to me by my sister, via our dear friend.  I used this recipe years ago when I was room mom at my children's elementary school.  I would do the Valentines parties and cut out heart shapes.  I would bring the frosting and all of the decorations for the cookies and the children would always enjoy doing the decorating.  I know you will agree they are SOooo yummy.  They taste like the best bakery style cookies you will find! *
      Enjoy!


Martha's Old Fashioned Frosted Sugar Cookie Recipe

Yield 3 dozen medium sized cut out cookies
Oven temperature 350* 8-10 minutes

Dough:

1 Cup Butter ( unsalted)
3 Oz Cream Cheese
1 Cup Sugar
1 Egg Beaten
1 tsp Vanilla

2 1/2 Cups Flour
1/4 teaspoon salt ( only if you use unsalted butter)
1/2 teaspoon Baking powder

On Medium Speed, Cream Butter and Cream Cheese, add Sugar, beaten egg and Vanilla.  Once incorporated, add Dry ingredients and beat for 1 minute, until all ingredients are incorporated.

Cover and chill the dough.

Roll the dough to about a 1/4 inch thickness, on to floured wax paper.  Use Cutters or a glass to make special shapes.  Place cut out cookies on cookie sheet ( or sheet with silpat or parchment).  Place the tray in the oven and bake for 8-10 minutes.  Don't over brown...cookies should be dough colored for best results.  Remove from the parchment and place on a cooling rack.

Frosting:

3 Cups Powdered Sugar
1/3 Cup Melted Butter
1 1/2 teaspoon Vanilla
1/4 Cup Milk

Mix Melted Butter and Powdered Sugar together in mixing bowl on medium speed.  Add Vanilla and Milk and continue to blend until smooth and all ingredients are incorporated.  Add drops of food coloring of your choice and mix well.  ( you may separate the frosting prior to coloring if you would like to make different color frosting) 

Once the cookies have cooled completely, about 15 minutes, use a spatula to frost the cookies.  Add decorations or sprinkles as you like.  You may add the frosting to a frosting bag and pipe on if you would like.  The frosting will level out and stay moist.

Share and enjoy!
*photo courtesy of cookingclassy.com

1.28.2014

Door County Plein Air Fest 2013 : my perspective


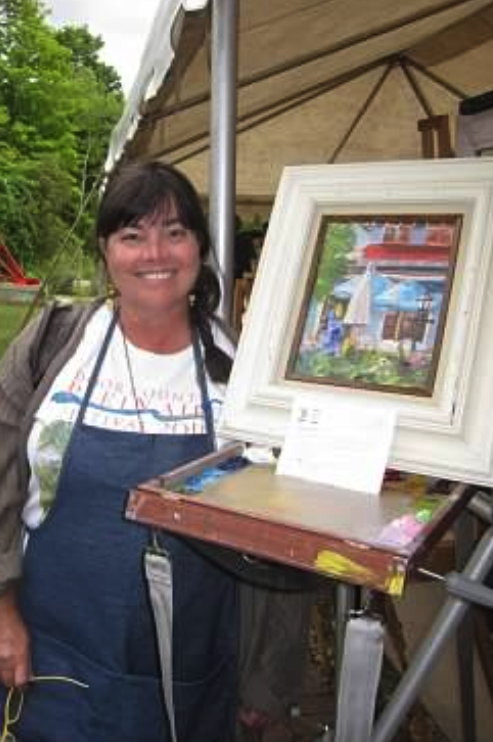
Last Summer I had the great pleasure of attending the Door County Plein Air Fest.  Looking back on the Summer there was so much I learned.  Watching the professional painters, over their shoulders in all types of conditions,  in the beauty of Door County, was so motivational to me!


The weekend before the fest, I participated in a wonderful vintage show in Baileys Harbor and it was my maiden voyage with my little camper, Miss Mabel,  SOLO.  Hooking her up, unhooking and setting up camp... all by my self! I did it!


In the first part of the week, I hit the road to find the professionals out on the town painting.  I found a friend in Laurel Daniel, she was such a delight.  I first met her, looking over her shoulder in Egg Harbor.  She was painting a little shop called Papel.  A cute little building just across from the Market in  Egg Harbor.  I loved watching her mix colors and create her beautiful painting.

Later that day, I went to Woodwalk Gallery.  What a beautiful setting that is.  I loved seeing the colors and paints that were being used.


By mid week, friends Vanessa and Annette arrived to pay a visit.  They came over to my little campsite to enjoy appetizers and wine

Thursday I headed out to the Causeway on kangaroo lake to do a little practicing and color mixing.  The evening was lovely and the light on the lake, unforgettable.


Saturday morning I woke up at 7 am to be ready at the quick paint by 8:00 am to stake out my spot.  In years past, I painted "Malibu Moos" in Fish Creek.  This year I thought I would mix it up a bit and paint The Summertime restaurant, a beautiful little indoor and outdoor bistro.  The gardens were breathtaking as always, in the Door.  We had a great time finding our spot for the Quick Paint, amongst professionals and non professionals alike.


At 9:00 am the horn sounded and we had 2 hours to complete our painting.  You may not draw or paint on your canvas prior to the horn.  Working at a steady pace, until someone yelled "we've got 30 minutes left" and it is time to wrap up our paintings... to pull them all together so that they will be ready for sale that evening at the Peninsula School of Art in Fish Creek.


In the past years I have painted Malibu Moos and have sold it every time, but this year I wanted to mix it up.


Later Saturday morning my eldest daughter Aubrey, Sister Leslie, Brother-in-law Ken and "Sister" Jinny arrived after traveling from the Chicagoland area that morning.  What a surprise to see them!


We spent the day wondering around the county, then that evening we attended the reception for the painters at the School.  I got in line to see the work of the non professionals that was set up under a large white tent on the grounds and as soon as I arrived at my painting, I found a S O L D sign on it!


Every year I have attended, and painted, I have had the good fortune of selling my painting.  It is just so much fun.  I can't wait to participate in 2014!


Cold Winter Salted Hot Cocoa Recipe with Turbano Sugar and Sea Salt

                        
What is better on a cold winter day than good old fashioned hot cocoa.  This tried and true recipe with a twist, will put a smile on everyones faces and warm the blush from their cold cheeks.
Enjoy my take on the Salted everything trend with my cold winter salted chocolate hot cocoa recipe.

Here's what you will need:
Ingredients
  • 1/2 cup sugar
  • 1/3 cup unsweetened cocoa powder
  • 1/4 cup Water
  • 1/8 teaspoon salt
  • 1/3 cup half and half
  • 4 cups whole milk
  • Whipped Cream
  • Chocolate syrup
  • Sea Salt
  • Turbano Sugar ( Sugar in the Raw)
  • * ( add in if you like:  Baileys Irish Cream, Brandy, peppermint stick, cinnamon stick or use caramel as a drizzle! ) follow your imagination.
Directions
  1. In a medium saucepan over low heat, whisk together the first 4 ingredients.  When well mixed, add the half and half and Milk and whisk all together.
  2. Cook over medium heat, stirring constantly, until Steamy.
  3. Simmer on low 1-2 minutes, stirring constantly.
  4.  Do Not Boil.
  5. Remove cocoa from heat and whisk. Pour into mugs and top with whipped cream.
  6. Drizzle chocolate syrup on top of the whipped cream and top with a small amount of Sea Salt and Turbano Sugar. 
  7. Share and Enjoy
*


12.06.2013

Naperville's Washington Street Holiday Market

Last weekend, between preparing for the show and sliding Thanksgiving in on Thursday... it was a hectic one for OpendoorStudio.
Campy Style... bed, Red Cross Pillows, handmade pennant pilloss too.

Mark from Room 363, a beautiful home decor and lifestyle shop in downtown Naperville, IL, had invited us to set up at his show.  This was our second year and what am amazing group of sellers he had chosen to show there wares.

The setting was the old Restoration Hardware building in downtown Naperville.  Several months ago, when chatter about the location began,  Mark suggested the idea of having "Miss Mabel" ( our little travel trailer...if you don't know that by now) indoors,  to add to the ambiance... and be a focal point for the show.  We were excited and hoped she would fit through the front doors.  After careful measuring and a few prayers, scrapes, sighs and centimeters... she made it in! It was from there we continued our "campy" theme,  Mark allowed us to set up right next to her...in the front of the Pop-up!  We began by setting up a camp tent with all of the Northwoods, glampy trimmings! (all that was missing were the Northern lights! ah... maybe that will be NEXT years inspiration! ) 
Martha, putting on the finishing touches minutes before the doors opened

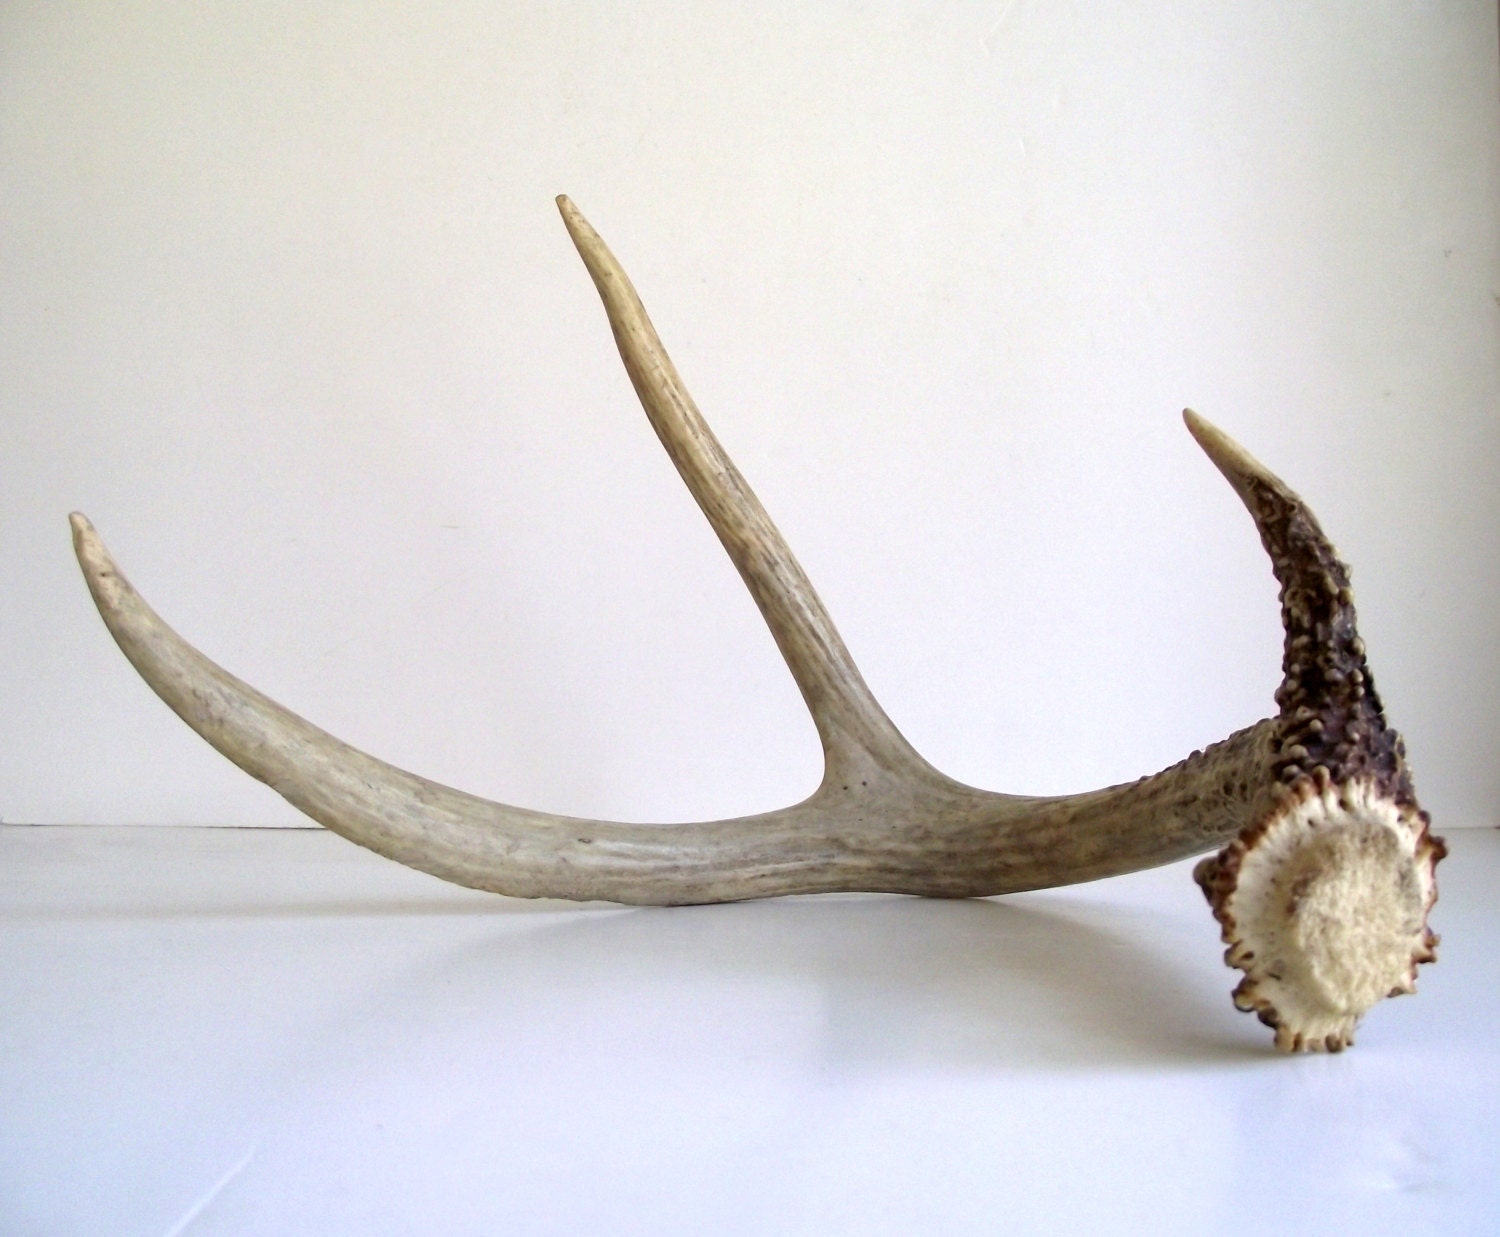
Martha's vision was to create the feel of a vintage cabin in the woods and I would say ... we achieved just that, complete with a deer mount (Tony's personal collection and contribution) pheasant, duck and even two vintage (1920's) bearskin rugs.
Flannels and Bearskin rugs and Deer.... oh my!
Friday night, when the doors opened at 4:00,  the line was literally snaking out and around the block.  A steady stream of buyers entered for over 20 minutes without a break in the line.   We have NEVER seen anything like it at a small venue like this... Mark and Sue along with assiatant Maria, really know how to create excitement and grow a crowd.
OpendoorStudio goodies for Christmas

There was something for everyone.  Beautiful florals from Little Luxuries, jewelry, vintage finds, herbs, clothing, sweets and appetizers... and  so much more, to delight every senses.  Santa and Ms. Claus even popped in for some photos in a beautiful sleigh, adorned with real fresh cut cedar trees, snow and warm woolen blankets.

Vintage Christmas Finds and some old skis too!
After three days of  life, laughter, friends, customers and collectors... the show closed (4 pm Sunday) and by 8 pm, the old space was empty... like a dream.  a beautiful imagined wonderland.

The show was a success.  Wouldn't you agree? and be sure to mark YOUR calendar for next year... the weekend after Thanksgiving, in Naperville Illinois.

You will be so glad you did!  Did you attend the show... or were YOU a vendor there?  Be sure to post a link below to your blog post or photos.  And, be sure to check #room363popup on instagram for more views of the show!

Miss Mabel and Camp OpendoorStudio